Where should we START?

FLOUR GIRL STARTER
It seems most appropriate that we would begin this blog with the recipe and the story behind the starter. The sourdough starter is where The Flour Girl began and in a way, it is where it all begins again each day. There is something oddly satisfying about the starter and the way that just the right combination of flour, water, and time was able to produce such an incredibly valuable baking tool.
I first set out to create my own starter after an inspiring visit to the King Arthur Flagship Store in Vermont. I remember watching the bakers behind the glass, mixing, shaping, and folding bread and thinking “I want to do that.” King Arthur also sells their live starter which I highly recommend, but for me, I wanted to know that I did it all on my own.
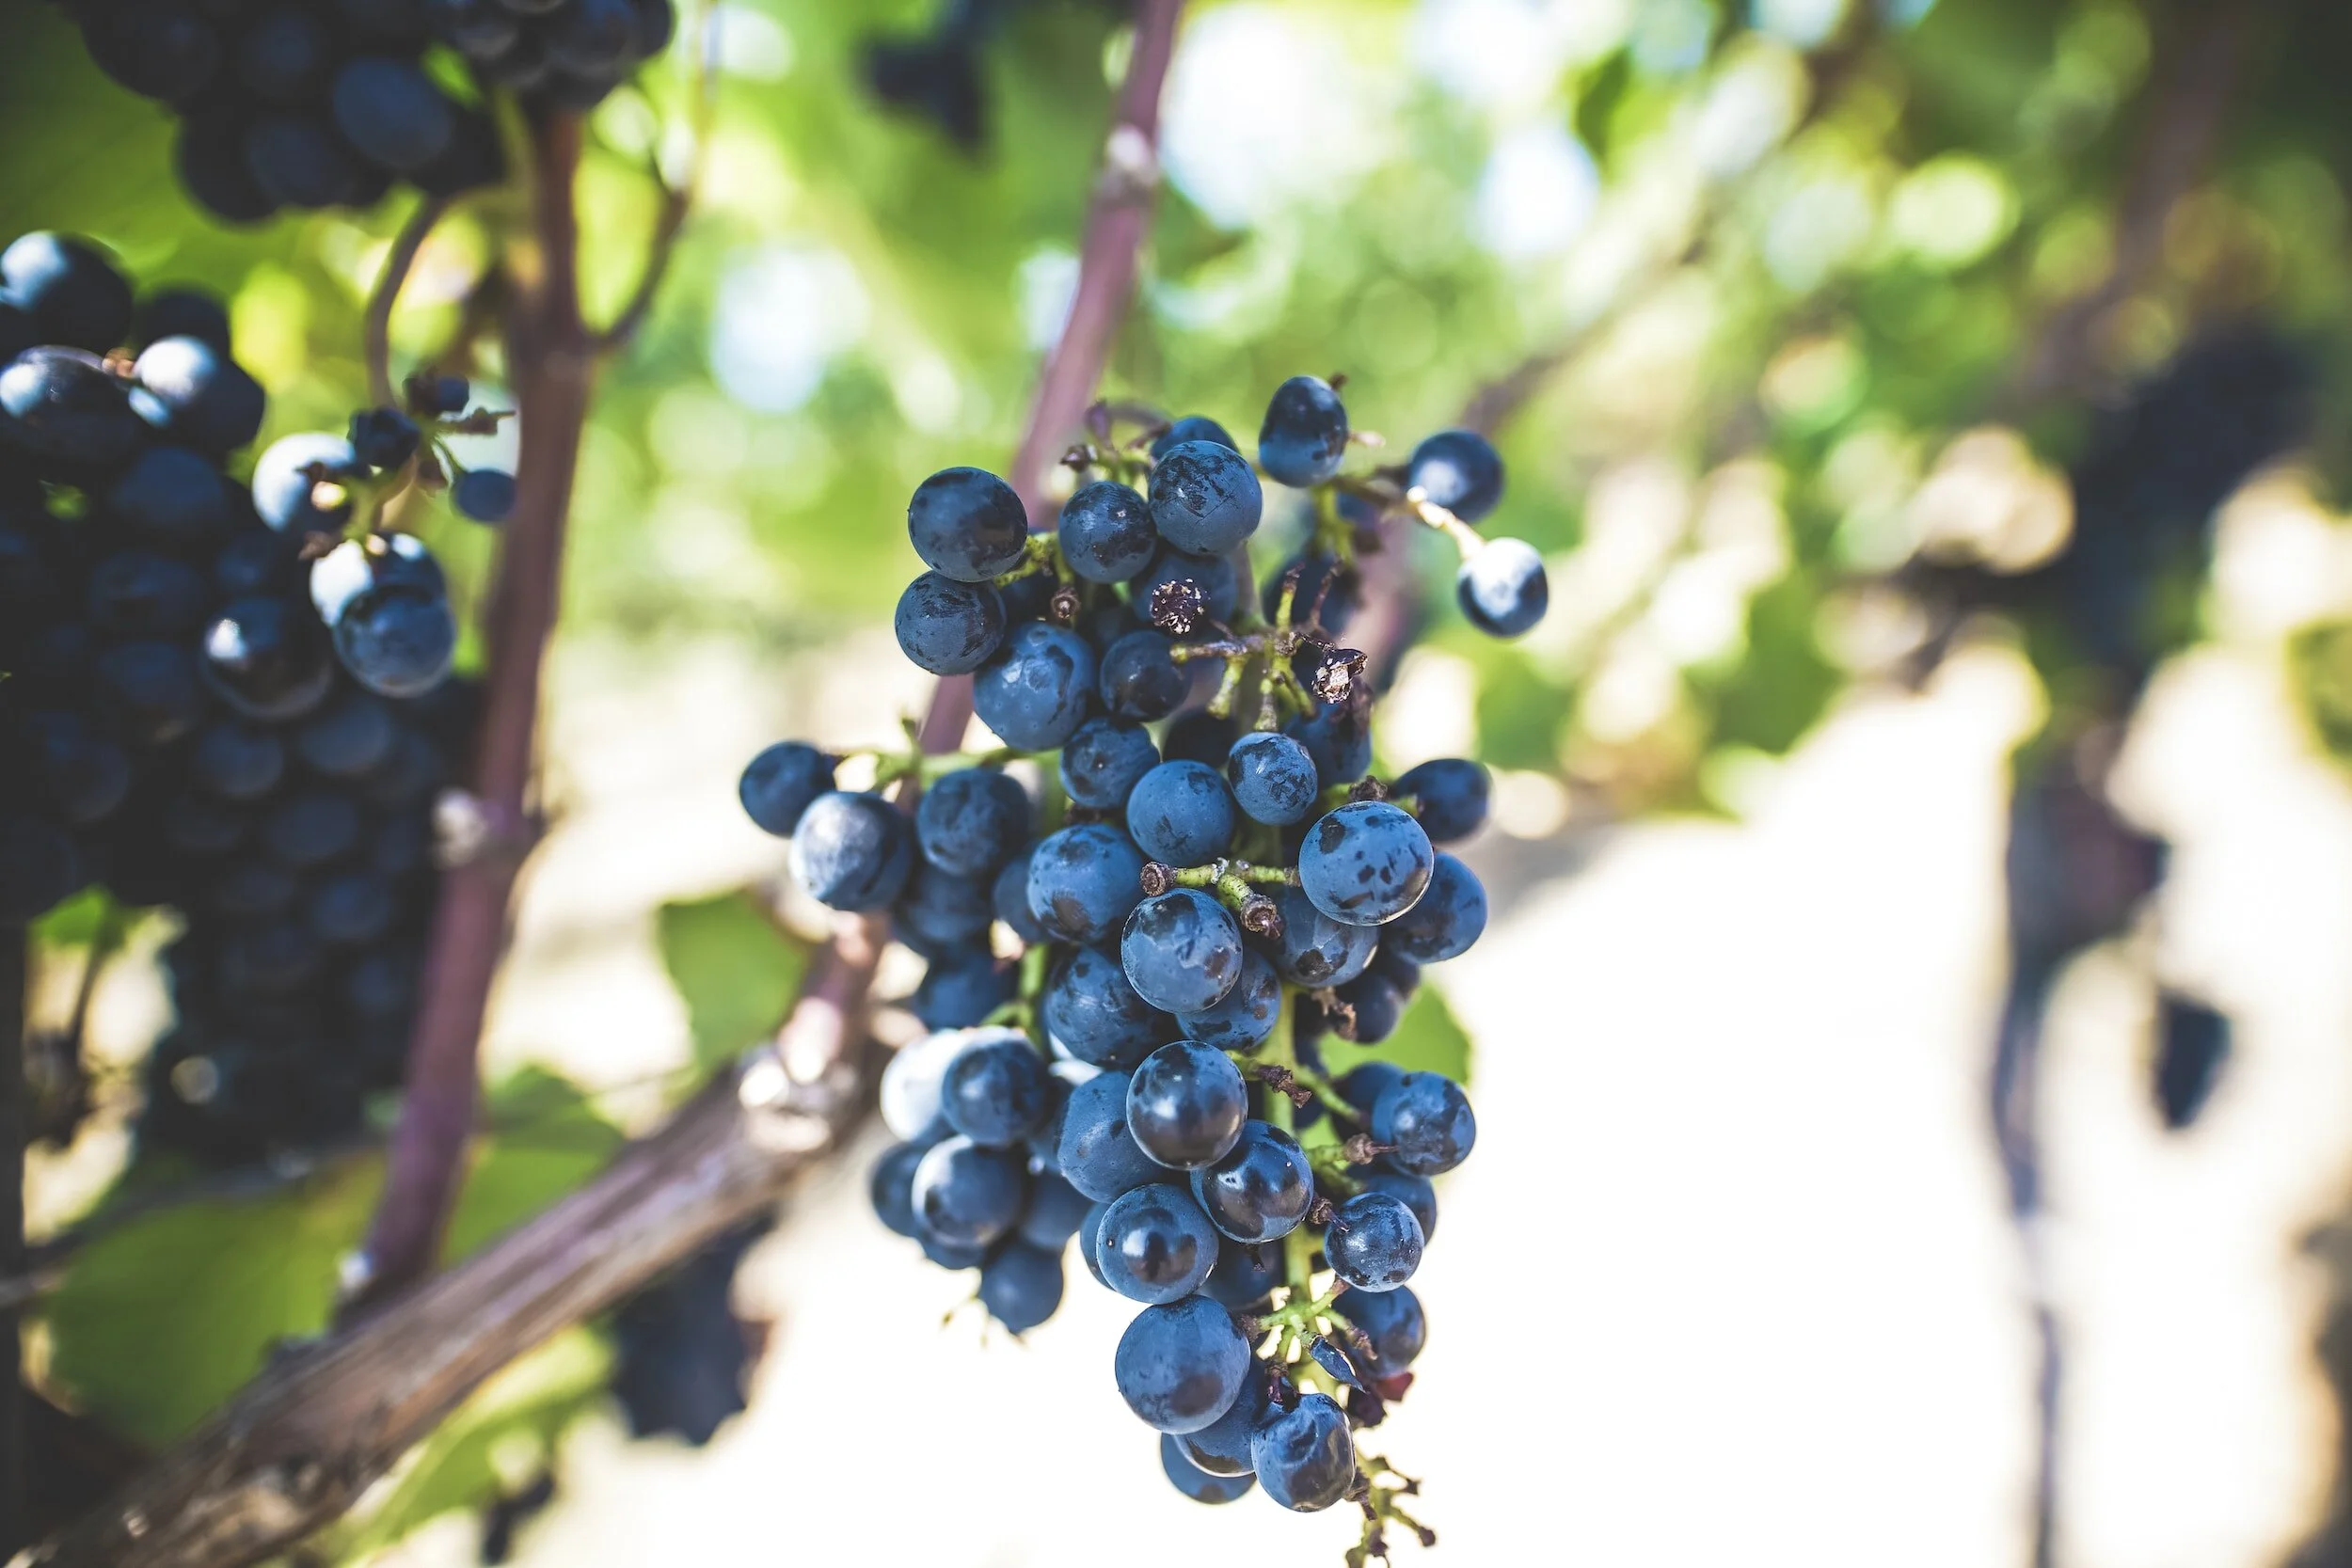
When my family and I returned from that weekend trip it was early August in CT and we had wild grapes growing in our backyard. I choose to pick just a few of those wild grapes and use them to capture the wild yeast and begin the fermentation process.
Something you may not know is that yeast is in the air, it’s everywhere actually, and creating a sourdough starter is just a matter of capturing it and giving it a new food source. Yeast feeds primarily off of sugar converting that sugar into alcohol, sound familiar? There is no sugar in a sourdough starter though, so what is the yeast eating? The answer is simple, the flour. The yeast is actually converting the starch in the flour to sugar and in the process it is releasing carbon dioxide, which we see as the coveted bubbles in the starter, the ones that show us it is active and ready to use.
Now that you understand both where I and the yeast is coming from, let’s talk about sourdough creation. First, let me explain that you should probably do as I say, and not as I do. Did I make an amazing starter from wild grapes plucked from my backyard? Yes. Was it the safest way to make starter? No. There could have been anything on those grapes, like bacteria so if you do decide to use grapes or fruit, use just a small amount and I would purchase some organic variety from your local health foods store.
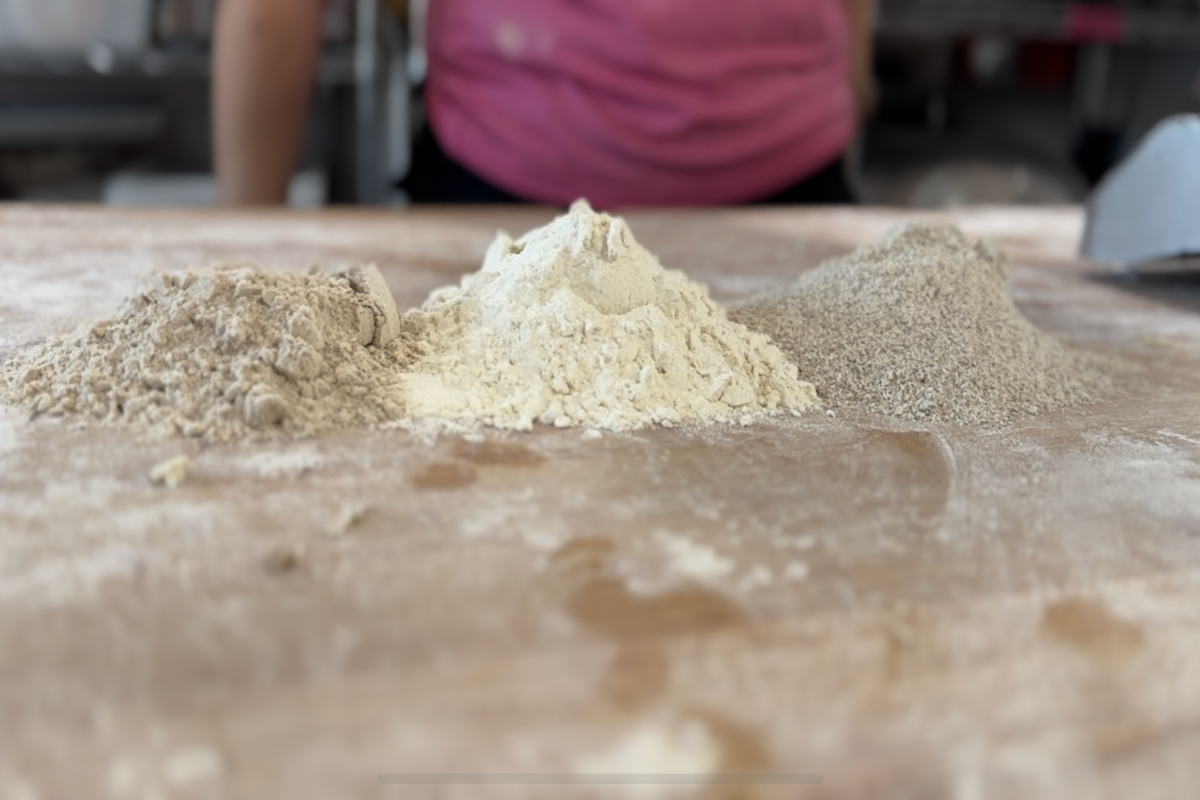
The flour is the next very important part of this process. You need a high quality flour and a variety of “flavors” the variety the yeast has to eat the better your starter will be and the more depth of flavor you we get from it. I used a combination of King Arthur All Purpose Flour, spelt flour and whole wheat flour. You can also add rye into the mix, light or dark.
Once you have selected your flours the process is so simple. You are looking for a 2:1 ration of flour and water. You can build your flour in any quantity you want, as long as it equals out to that ratio. I prefer to use weight but it is just as easy at this stage to measure in cups. For example you may want to start with 2 cups of flour (1 cup AP, 1/2 cup whole wheat, 1\2 cup spelt) and then 1 cup of water. Room temperature on the water is fine or a little warm, just not cold and definitely not hot.

When you have your ingredients measured out you need to mix them until combined, you can use a Danish whisk, like I do, or you can use a fork, a spoon, your hands or a combination of all of them, just as long as you get a well mixed product in the end.
Once mixed you place your starter in a glass or plastic container, loosely cover it. You want access to air but dont want anything falling into it either. Now we wait.
A minimum of 12 hours later, and no more then 24 hours later open the starter up, which will likely look exactly the same, remember that TIME was the 3rd ingredient here. Open that starter and throw away about 1\2 of it (no need to be precise.) Once discarded take the remainder and “feed” it. You can feed it with the exact same recipe you started with keeping the ratio or water to flour exactly the same 2:1 but adding this mixture into the starter that has already begun to ferment.

You are going to repeat this process over and over again, it may take days or even weeks to get your starter ready for bread. Patience will win out here, and good things come to those who wait, and feed their starter daily. Eventually you will notice bubbles and you will notice growth, the starter will be rising between feedings. The bubbles and the rising is what you are looking for, that means that you have captured enough yeast and given it enough food so that it can grow and multiply. This yeast can live for years if you keep feeding it, treat is nicely and it will do the same to you. This little kitchen pet that you have just created has the power to make bread and that is a pretty amazing thing.